
Make it count Monday, two recipes in one blog post. My ever thrifty self has been trying to meal plan on my day off and make the majority of our meals at the beginning of the week in order to have stress free healthy meals during the week when work is in full gear.
I’ve been using these simple principles:
– Cook at least one protein in the crock pot. Why you ask? Here are my tips… I can stretch one protein such as pork tenderloin, boneless spare ribs, chicken breasts, steak tips, etc. into about 2 -3 meals for Kate and I. Of course I get creative mainly because I can’t stand having the same thing over and over. One week we had steak tips cooked in the crock pot that we had with mashed sweet potatoes and kale chips, which then turned into asian spiced steak tacos with corn soft tacos and fresh lime juice.
– Save your money! Using the crock pot to cook at least one meal a week will save you money on utilities. One of my favorite crock pot recipe blogs, A Year of Slow Cooking, listed that there is documentation that suggests that a slow cooker uses approximately $0.02 of power per hour and that the monthly cost of using a slow cooker is $1.17. The slow cooking method of crock pots lends itself perfectly to less expensive cuts of meat that can be tough if not cooked using the low and slow method.
– Save your time! I only make slow cooker meals that require little to no prep ahead of time. That means less prep time, less dishes, and more time to spend with Kate and the pups 🙂
This week I made the recipe below originally posted on The Honest Company Blog.
Easiest Slow Cooker Shredded Chicken
serves 4
Ingredients
3 Boneless Skinless Chicken Breasts (fresh or frozen)
1 16oz jar of your favorite salsa
1 onion finely chopped
Steps
1) Pour 1/3 of the jar of salsa covering the bottom of the crock pot
2) Layer the chopped onion over the salsa
3) Nestle the chicken breasts into the onion and salsa that is covering the bottom of the crock pot
4) Cover the chicken breasts with the remaining 2/3 jar of salsa
5) Cover and cook fresh chicken breasts on LOW for 7 hours. If you used frozen chicken breasts cook on HIGH for 6 hours.
Notes:
1) I used fresh chicken breasts and came out amazing, super moist and tender. Yum!
2) The salsa I used was Spike’s Salsa and it was the medium variety, but feel free to use whatever suits your heat level. I discovered Spike’s Salsa one week when it was on sale at the grocery store, it is really good and costs a fraction of the other bigger named salsa brands.
3) I removed the cooked chicken from the crock pot and shredded it using two forks, it basically falls apart on its own so you could use your hands if you want.
4) To store it, I placed the left over shredded chicken in a food safe storage container, we use these Anchor Hocking True Seal glass containers, then I added about 1/2 – 3/4 cup of the reserved cooking juices that were at the bottom of the slow cooker. Only use enough to mix into the shredded chicken to keep it moist.
Tonight I’m turning the left over shredded chicken into an Enchilada Casserole using a homemade enchilada sauce I made this afternoon.
Here’s the recipe:
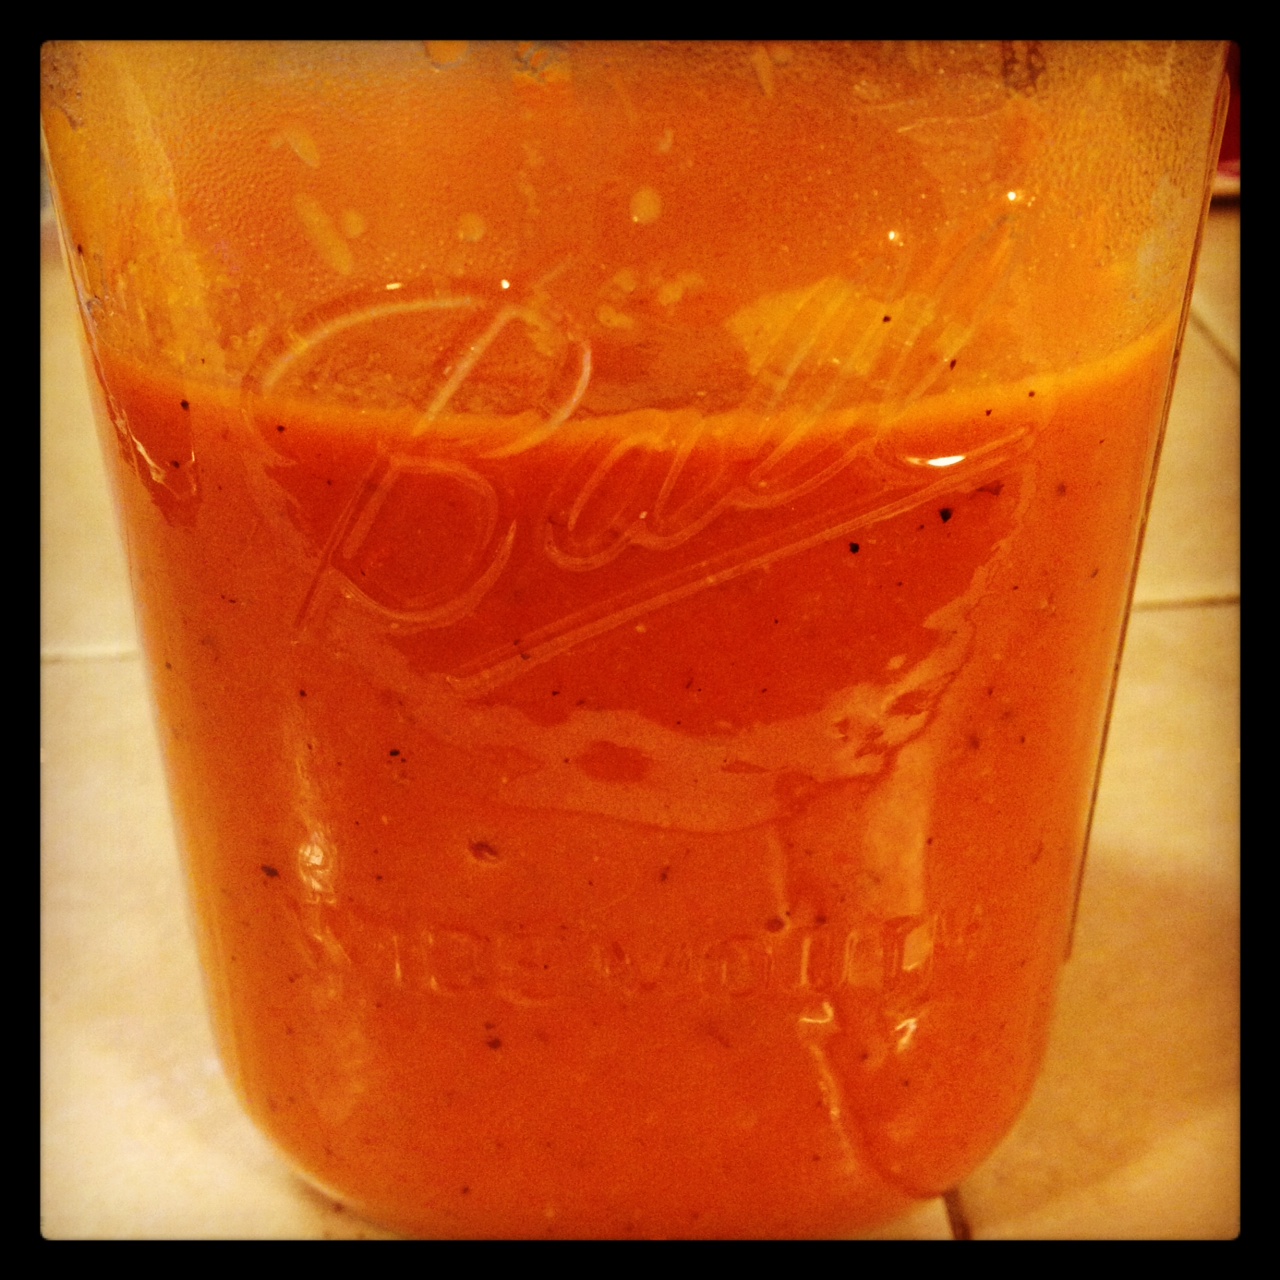
Roasted Tomato Enchilada Sauce
inspired by America’s Test Kitchen
Ingredients
1 TBS canola oil
1 14.5oz can of Organic fire roasted diced tomatoes
1 onion diced
3 garlic cloves minced
1 Fresno chile finely diced, seeds and ribs removed
1/2 tsp salt
2 tsp cumin
1 tsp smoked paprika
2 tsp sugar
2 TBS salsa
1/2 c water
Steps
1) Heat oil in a 1.5 – 2 QT sauce pan using med/low heat.
2) Start to cook onion, garlic, and chile in the heated oil to soften about 5 mins.
3) Add remaining ingredients and stir.
4) Bring sauce to a boil and then reduce heat to a simmer.
5) Simmer covered for 15 minutes.
6) Remove pan from heat, using an immersion blender submerge into sauce and blend until smooth. If you do not have an immersion blender a food processor or blender would work just as well.
7) Enjoy!
Notes:
1) The enchilada sauce recipe is totally vegan and low-fat!
2) It will freeze well in a freezer safe storage container, try using a canning jar just remember to leave approximately 1 inch of room in the jar before screwing on the lid.
